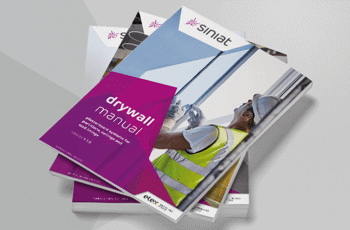
Drywall Manual
 See more
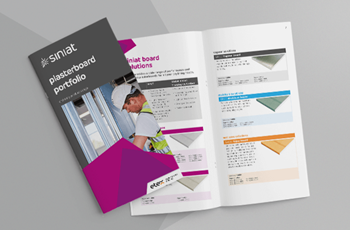
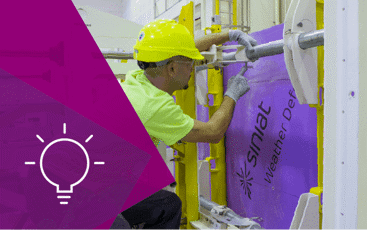
Our expertise is based on years of experience in gypsum and fibre cement boards. We would like to share this knowledge with you. Download our brochures and learn from our experts how to install our products professionally.
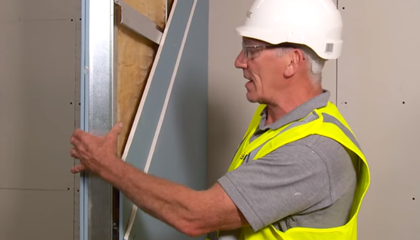
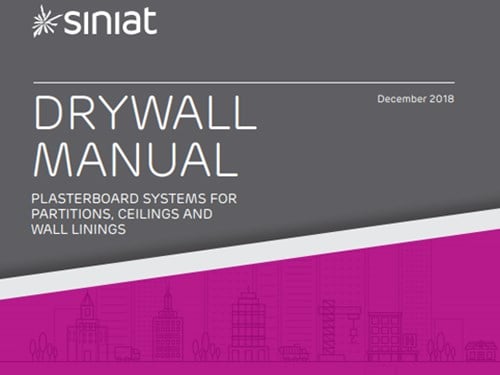
For installation details of all our products and systems see our Drywall Manual

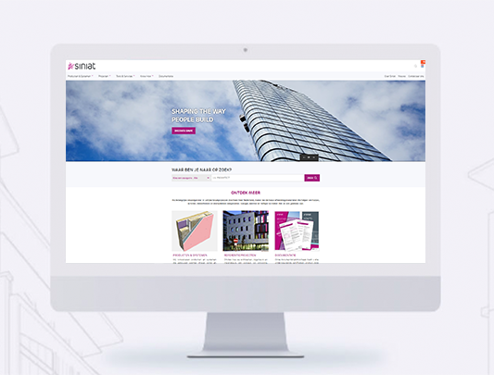
Get in touch with one of our Siniat experts. Answer a few questions and we'll help you find a solution.
Opening hours are Monday to Friday 09.00 – 17.00 pm (excluding 1 - 2pm)
800 1456033 or +44 (0) 1275 377789
technical.siniat@etexbp.co.uk